jars cover pic

Instagrammer project: Lisa White’s cute storage jars and PlastiKote spray paint

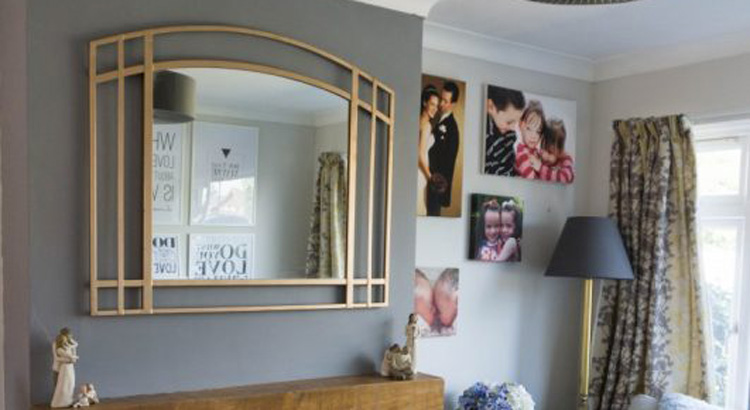
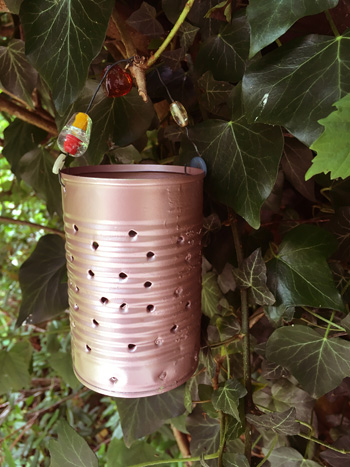
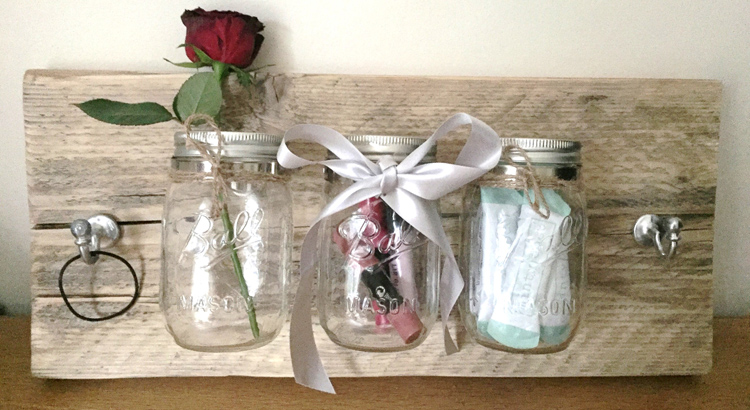
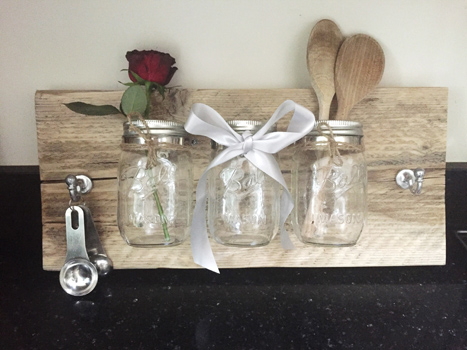
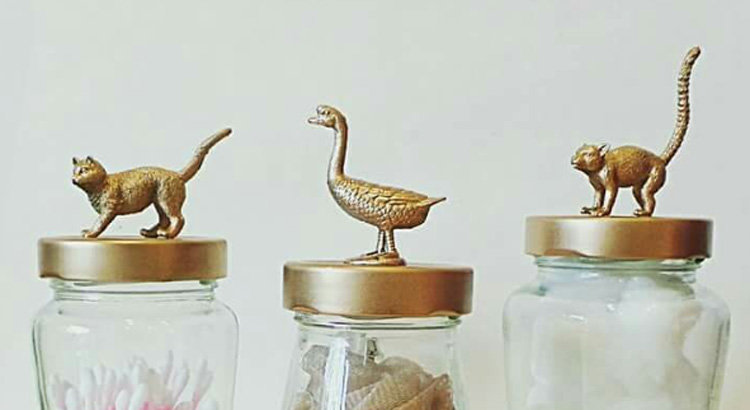
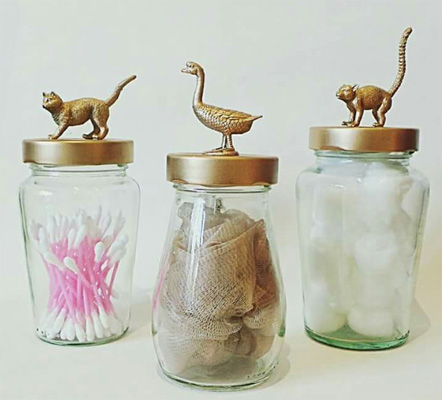
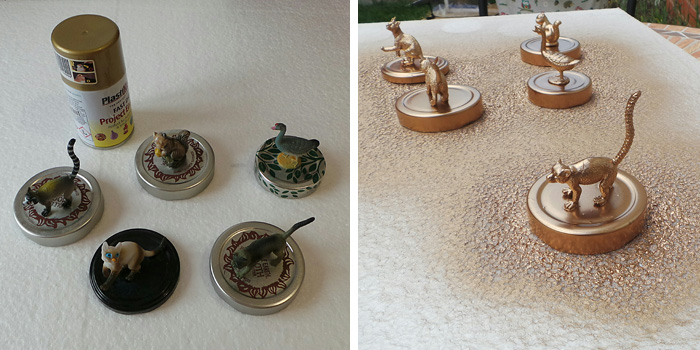
This month we welcome Lisa White, an instagrammer who has really set the bar high when it comes to creativity in the home.  We just love these cute storage jars:


jars interior


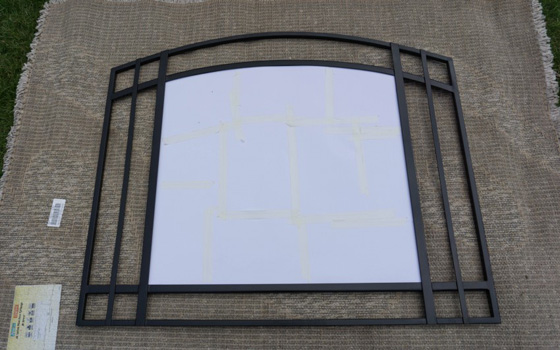
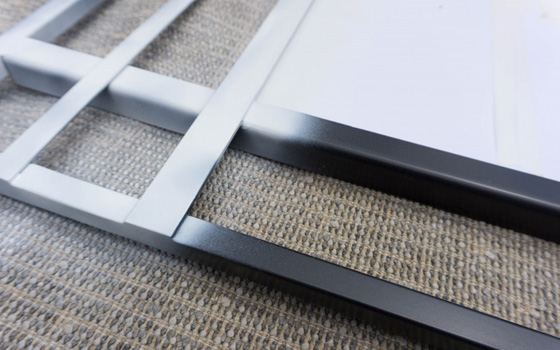
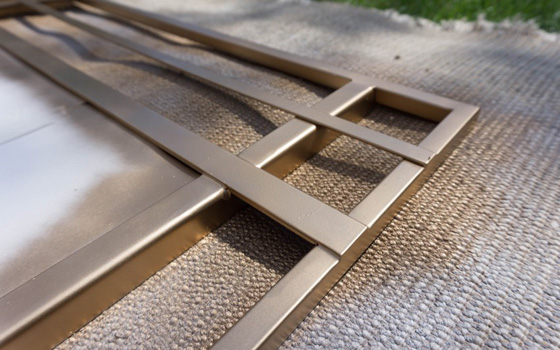
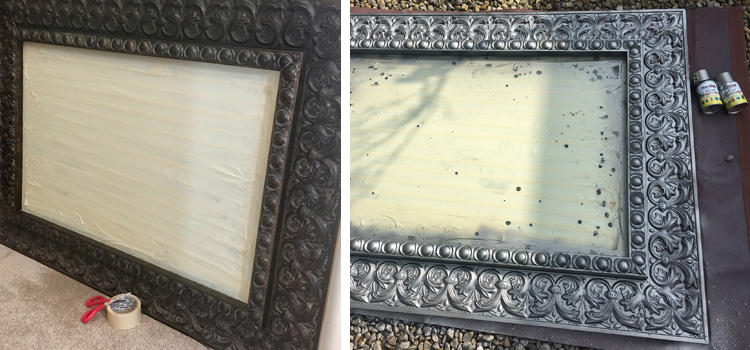
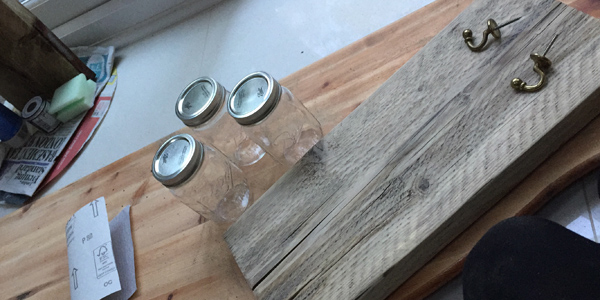
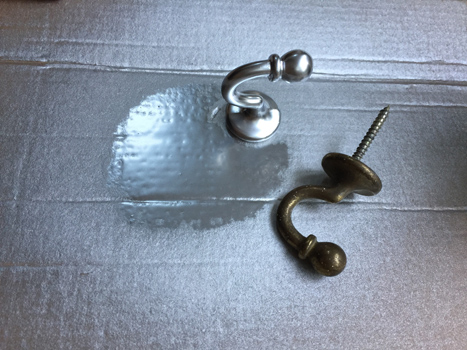
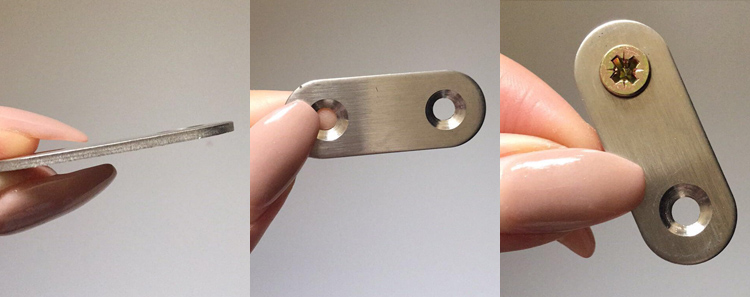
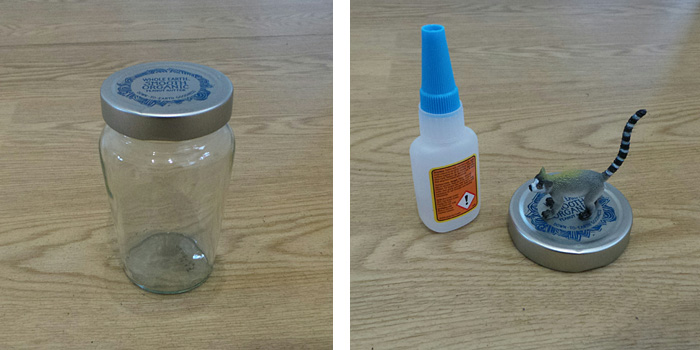
Here’s a quick picture step-by-step:


jars step 1


jars step 2


Lisa’s skills also run to creating her own videos and you can watch the video tutorial for the storage jars here.

We asked Lisa how she got started with her business and with PlastiKote spray paint:

“After being made redundant I decided to take my passion for upcycling from a hobby to a business at the start of 2017 and set up ‘A Twist of Somerset‘.

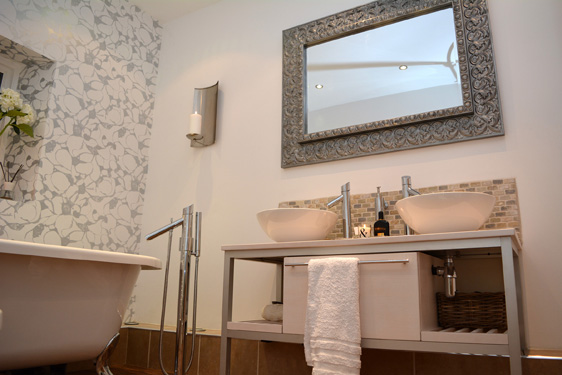
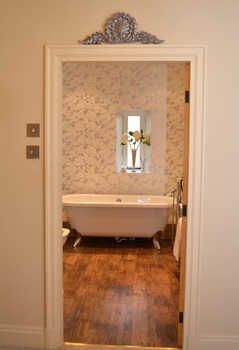
I am based in a little village at the foot of the Quantock Hills called Nether Stowey and create all of my items from home.

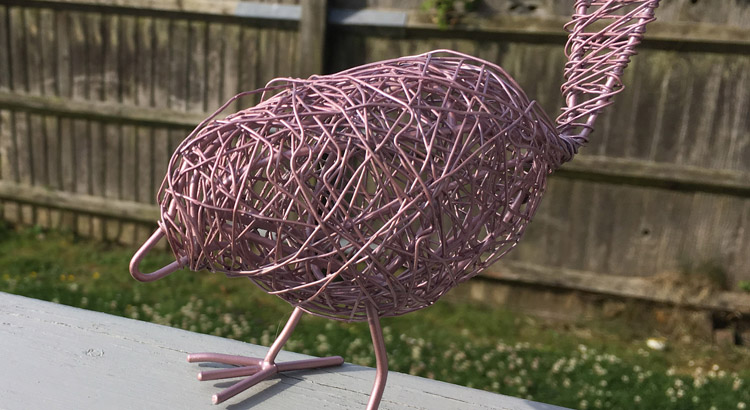
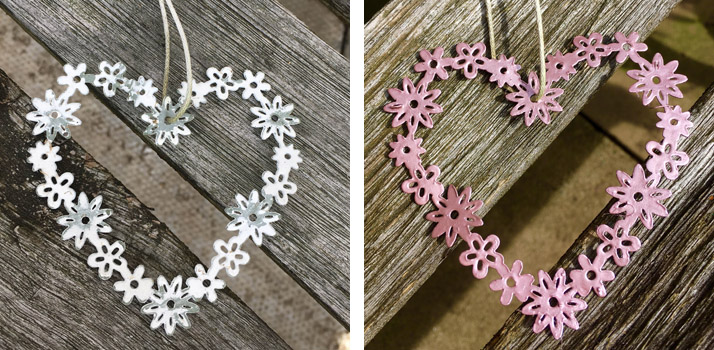
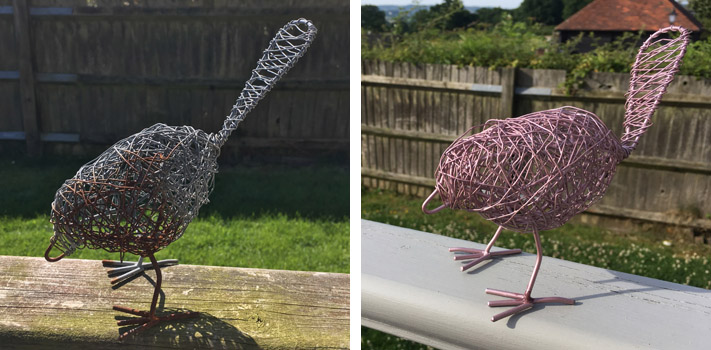
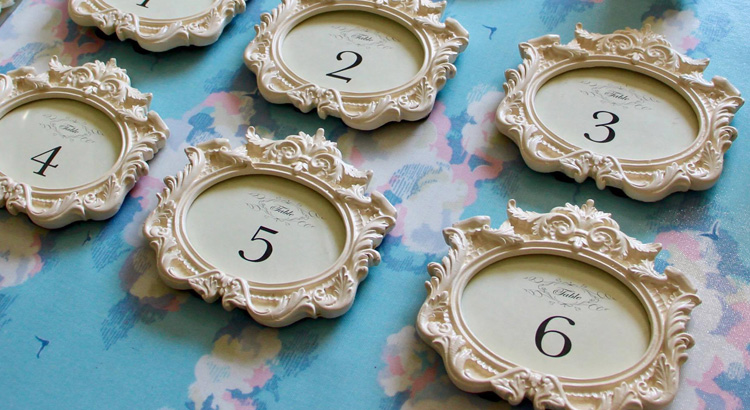
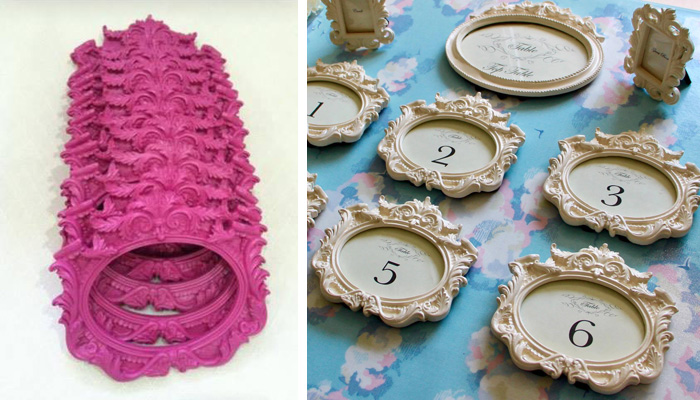
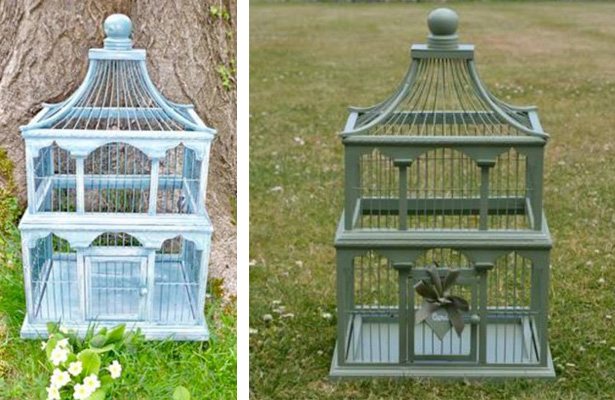
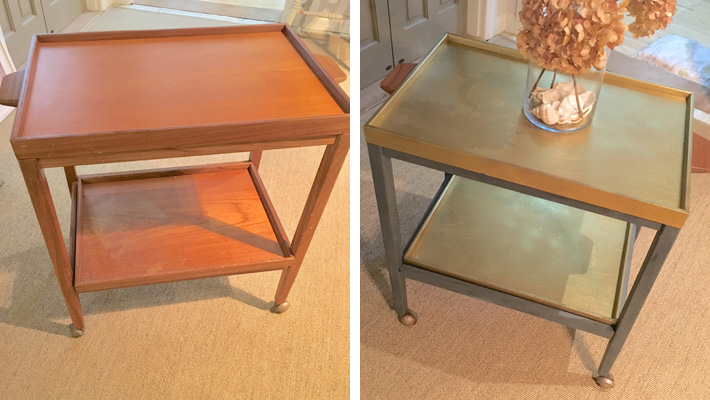
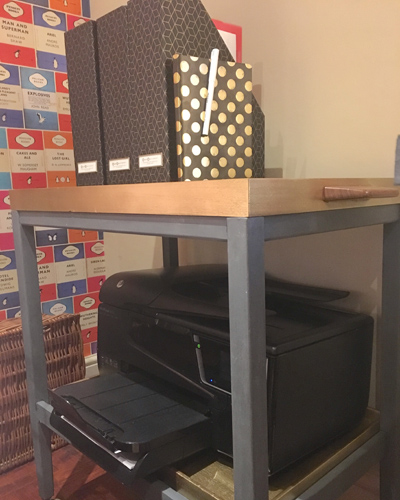
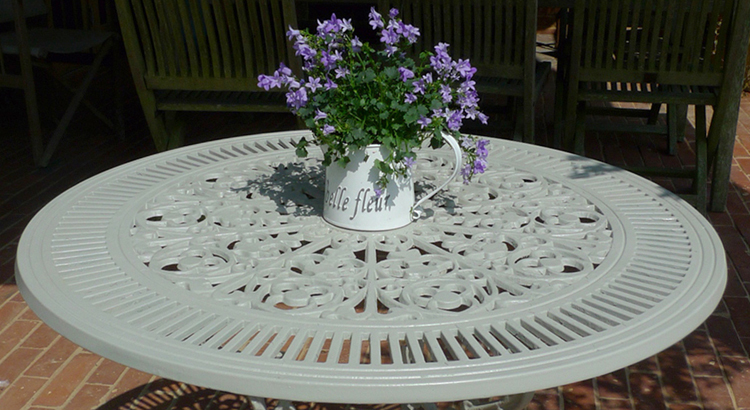
I’m always keen to try a new project – big or small – using a variety of different materials.

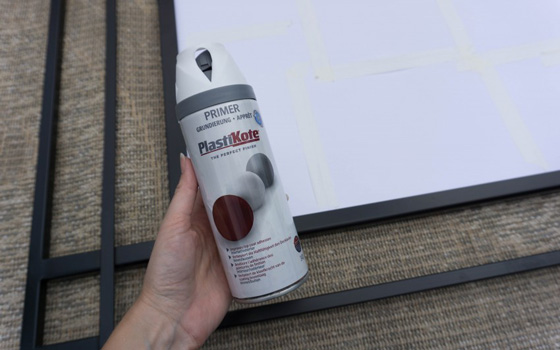
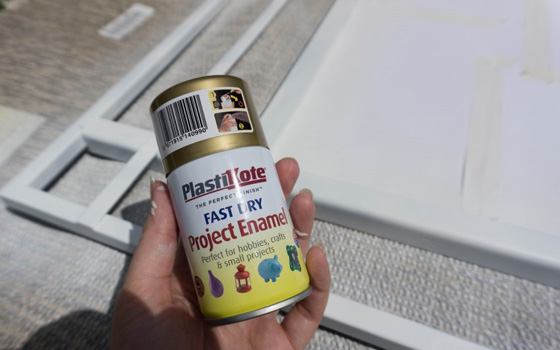
Plastikote spraypaint is always something I have in my store, it comes in a range of great colours and is available in small or large cans. The paint is easy to apply, dries quickly and gives a beautiful finish to a project.

This storage jars project was quick and easy to do. It’s also a great way to reuse items found in the home. I used PlastiKote Fast Dry Enamel in Gold Leaf. Do watch the YouTube video tutorial  – it shows just how simple this project is!” 

You can also find A Twist of Somerset on Facebook and Twitter. We wish Lisa every success in her venture and look forward to seeing what she tackles next!

Take a look at the PlastiKote website and the many inspirational project ideas for you to try! You can reach our website by clicking here.
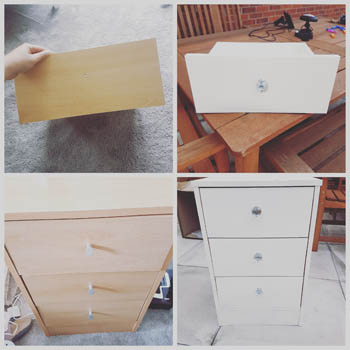
Read More

chest of drawers feature pic

Instagrammer project: interior makeover with Shelley Dennis and PlastiKote spray paint

This month, we welcome Instagrammer Shelley Dennis. We love her posts on instagram and she’s a true inspiration when it comes to interior makeovers.

Shelley is a recent convert to spray paint and we are thrilled to include two of her most recent projects in our blog. Shelley told us how she got started:

I moved into my new home in April 2017 and it was a dream come true. Having saved so hard for a house deposit I found myself strapped for cash and a bit down in the dumps that I couldn’t furnish my new home…or so I thought! 

I had lots of old wooden furniture and so many brown accessories and not a clue what to do with them but couldn’t afford to just throw them away.

I’ve seen so many people upcycle furniture and accessories that I thought I’d give it a go. I did some research and came across a couple of other people’s posts where they’d used Plastikote spray paint and I absolutely loved the idea of being able to transform something old into something new.

I found Plastikote in my B&M store and purchased one bottle of metallic spray paint and one bottle of white spray paint. I was really nervous about transforming my old drawers and other home accessories but I had nothing to lose because I was never going to use them as they didn’t suit my décor anymore.

My first project was an old vase that was absolutely beautiful but had brown stripes and just wasn’t matching any of my décor, so I used some parcel tape just to create a nice smooth line to separate from the cream part of the vase and then did one very light coat of the metallic paint and left it to dry and then did another coat and that was it – it was completely transformed and I absolutely loved it, it was so beautiful and everyone has commented on it. I couldn’t believe how easy it was and there were no drip marks.


vase


After that, I decided to be a bit braver and move on to my second project which was an old chest of drawers.

So I started with one drawer first and did a light spray of the white spray paint and left it to dry before doing a second coat I was absolutely amazed at how easy it was to apply and there were no drips, no messy paint brushes or brush marks, no having to clean them after –  it was fantastic! Once I had applied another coat, the drawers looked absolutely amazing and then I added some new crystal drawer knobs. 


chest of drawers before


The whole drawers were transformed for just the cost of a bit of spray paint and a few drawer knobs I was so pleased that I went on to continue doing the second lot of drawers and I can’t wait to start my next big project which will be a really big set of drawers!


chest of drawers final pic]


Read More

Mirror feature pic 2

Reader project: creating a gold mirror with PlastiKote spray paint

Steph started her blog, Renovation Bay-Bee, back in 2013, after buying a ‘1960’s time warp house’ and has been posting about renovating it on a regular basis ever since. She does much of the work herself (with help from her husband of course!) and we really enjoy reading about her fabulous projects. Just look what she’s done with an old Next mirror and PlastiKote spray paint…

The mirror above the fireplace use to be black, my Mum got me it years ago from NEXT when we purchased our first house. I didn’t want to get rid of it, so we sprayed it up with PlastiKote gold leaf spray paint. It was so much cheaper than a whole new mirror, and there was nothing wrong with the old one.

Here is the mirror before. I covered the glass section with paper and stuck it down along the edges. This stops the spray paint getting under the paper and onto the mirror. Make sure it is all clean, and dust free. As you can see I placed mine onto of an old rug, and outdoors.


mirror interior 1


Use some white PlastiKote primer all over the areas you want to spray, this gives it a good base, and as it was black I wanted a true light colour to spray the gold leaf paint onto.


Mirror interior 2


Mirror interior 3


Next up use the PlastiKote gold leaf spray paint, or whatever colour you have chosen, to spray all over the mirror. I only needed one coat of this, and it went on so well. Make sure you spray lightly, evenly, and getting into all the little areas.


Mirror interior 4


Mirror interior 5


I am so pleased with the outcome, it makes the lounge brighter, and stands out  better on the dark grey wall.


Mirror feature pic 2


Mirror interior pic 7

Great job Steph. And we love your dog!  If you want to read more about Steph’s projects, just click here.

Read More

readeer project pic

Reader project: a Rose Gold garden with PlastiKote spray paint

A warm welcome to Rachel Morecroft from Hastings who got in touch with PlastiKote spray paints and wowed us with her Rose Gold projects, our Metallic colour of the moment! Rachel came across Rose Gold by chance and emailed us to show how she has been using it…


Rose Gold tin can lantern


I’m a big fan of spray paint and whilst shopping for some colour spray paint for my much loved wicker chair, I came across Rose Gold. I bought a can, not really knowing what to do with it but loving the colour.

I think the rose gold colour looks great against greenery, so I sprayed a couple of garden ornaments and an old tin can tea light holder I’d made that was green in a previous life.


Heart before and after


I love the pretty sheen and think these ornaments look fab in the garden. There’s still some left in the can so I’m looking for my next project…”


bird before and after


We’ve sent Rachel some spray paints to say thank you for these fabulous pictures. If you’ve got any projects you’d like to showcase then do please get in touch. If we feature your project, as a thank you we’ll send you a range of spray paints for your next project! Just email us at info@spraypaintideas.co.uk and tell us what you’ve been working on!


Read More

feature pic reader project

Reader project: wedding birdcage and table number frames

Hats off to Verity Lambert who wowed us with her clever recycling of a birdcage and table number frames, using PlastiKote spray paint, for her wedding day. We invited her to tell us about her recycling projects:

“For the table number frames, I sprayed them in a creamy white colour using Plastikote spray paint – when I found them online they were originally painted in a very bright pink colour! This wasn’t to my taste or in keeping with my wedding colours of creamy white and green.

I carefully removed the backs of the frames and the glass, then sprayed the frames with four coats of paint. Once dry I put back the glass and frame backs into the frames with the printed paper table number inserts enclosed.


Reader pic before


WEdding table numbers afterwards


I found the birdcage some years ago – we were driving through a pretty village and I spotted it in the window of a charity shop. I asked my partner to stop the car, ran into the shop and bought it!! It languished at my mother’s for years but I retrieved it just before the wedding because I knew it would make a beautiful card holder.

I cleaned it down with a soft brush, filled and sanded any small cracks and then sprayed it with Plastikote spray paint in Leafy Rise, my favourite colour in the Twist & Spray range.

I also spray painted a little wooden heart and wrote ‘cards’ on it using a chalk marker pen. I attached an olive green ribbon and tied it onto the cage. We used the birdcage at our wedding to receive the lovely cards from our kind guests.”


   birdcage

For more great wedding day ideas using PlastiKote spray paint click here to go to our Wedding Inspiration board on Pinterest.

Read More

feature pic reader makeover

Reader project: transforming a drinks trolley with PlastiKote spray paint

We love the versatility of this drinks trolley makeover, bringing it bang up-to-date with PlastiKote spray paint! Our thanks to Beckie Batchelor from The Making Bee for sending us her ingenious upcycle.

Beckie told us: I found this old wooden drinks trolley in a junk shop and immediately saw its possibilities. I sprayed the trays with PlastiKote Gold Metallic spray paint  and used some leftover dark grey chalk paint for the legs. So far I’ve used it in the sitting room as a display table and  currently it’s gracing my study as a stylish printer and file table!


drinks trolley before after


wooden drinks trolley


To find out more about Beckie’s work, visit her Facebook page, The Making Bee.

For more great upcycling ideas head over to our Pinterest board ‘Upcycle, Revive and Recycle‘.

Read More

reader project feature pic

Reader project: upcycling a bathroom mirror with PlastiKote spray paint

Thank you to Lisa Durkin for sending in this fabulous upcycling project. Lisa’s instagram feed @placeshaperinteriors is full of gorgeous interior design ideas so do head over there and take a look…

Lisa told us:‘’I love interior design and really enjoying designing and decorating our new home. The bathroom was lovely but I wanted to bring a fresher, modern feel to it. I found a beautiful Silver and White Kelly Hoppen Wallpaper which I chose to feature on the main wall, then I painted the walls, woodwork and ceiling white. But the big, ornate brown mirror didn’t look right with the new colour scheme so I thought about spraying or painting it a Silver or Pewter colour rather than spending money on a new feature mirror.


BathroomMirror_Before_Brown


I found the Plastikote Spray at my local DIY Store and decided to go for the Pewter colour. I must admit I was really nervous about using it as I didn’t want to spoilt the mirror but I knew it was no good to me in the brown colour so I felt I has nothing to lose (except money to buy a new mirror if it didn’t work out!).

The mirror was a Resin material so it didn’t need any preparation other than masking tape on the mirror area. I then took it outside in the garden on the stone driveway and placed the mirror on an old sheet. I wore latex gloves and followed the instructions  – spraying the outer edge of the mirror first in thin coats. I knew after the first few sprays it was going to look good as the coverage and the colour were great and better than I expected.


mirror step by step


Most of the mirror area I sprayed only needed 1 coat – I just had to go over a few patches that I had missed. I left it outside to finish drying for another 2 hours before I brought it back in the house.


BathroomMakeover after close


When I put it back up on the wall in the newly decorated bathroom – it looked stunning and really makes the whole bathroom complete. I’m so impressed with how easy and cheap it was to do – this mirror makeover cost me less than £9 and only took an hour to  prepare and spray. I have my eye on a few more projects around the house that I can transform with Plastikote spray paint – so nothing is safe! You get so much more satisfaction when you ‘upcycle’ something and it turns out so good.

The whole mirror used 3 small 100ml cans of Pewter (although I did have some left so I also sprayed a decorative wall plaque above the bathroom door from gold to Pewter).  Everything co-ordinates  now  and it’s saved me lots of money!‘’


BathroomMakeover after


Decorative Plaque 013

Read More

wrought iron table after T&S Warm Grey

Reader project: outdoor table makeover with PlastiKote spray paint

Thanks to Pippa who has emailed us with her superb transformation of an old wrought iron table using PlastiKote spray paint.

Pippa said: “I was about to take this old table to the local tip when I came across spraypaintideas and decided to have a go at spray painting! Never having used spray paint before I watched a few vlogs which gave me a bit of confidence. I gave the table a good clean with a wire brush, washed it down and then used a PlastiKote Primer before using Warm Grey.  And I’m so happy with the result.  I love the colour and it’s given the table a whole new lease of life. I can’t wait to do my next project.”


metal table


If you’re thinking about your own garden projects why not take a look at our pinterest page. You’ll find lots of ideas on how to bring colour into the garden this summer. Click here for our Garden Glory board.

Read More

reader project feature image

Reader project: Glass Jar storage unit with PlastiKote spray paint

Here’s a fabulous project from Francesca Brady at the Vantablack Studio. It’s a really clever use of kilner or mason jars for a stylish storage unit that can be used in the bedroom, in the kitchen, in the bathroom or indeed anywhere you like! We love the clever way she’s made use of things she has lying around the house.


You will need:

Piece of scaffolding board or similar

Screw top mason or kilner jars (they can be found in Hobbycraft or The Range)

Jubilee clips/hose clamps

Flat metal fasteners

Screws compatible with flat metal fasteners.

Old hooks/door knobs/drawer handles

Silver metallic spray paint from PlastiKote

String for decoration (optional)


reader materials


How to – in Francesca’s own words:

To start, I sanitised my 3ft section of scaffold board with a household steamer and then sanded it down to make it smooth (I chose not to sand it too much because I love it’s character!)

Then, using silver metallic Plastikote paint, I sprayed some old coat hooks I found rattling around in a drawer at home, as I thought this would be a good addition to my unit. I drilled two small holes into the wood where I wanted to place these hooks and then screwed them into place.


reader project hooks


I positioned the three mason jars equally then used the jubilee clips, flat metal fasteners and screws to fix them into the board. Place the jubilee clip down on the board, place the metal fastener over the top and drill this into position. Then, expand the jubilee clip to full extension, slot the mason jar in and close the clip tightly around the jar.


reader project screws etc

I would recommend using heavy duty metal picture hangers so this structure can be fixed to a wall (my board is 3ft long and I have used three strong picture hooks on the back).

Decorate with string, ribbon, anything you like!


reader project final pic

Read More

kitchen-main-pic

Reader project: enhancing your kitchen with PlastiKote spray paint

Sometimes the smallest changes can have a huge impact. Here, we look at the effect of changing the colour of kitchen knobs to reflect a different floor, inspired by an email and pictures from Isobel Smith.

Isobel wanted to update her kitchen but without spending a fortune.

“My biggest outlay was new flooring and I love the tiles. But having spent money on the floor tiles, I really couldn’t afford to change the cupboards. So, I gave them a good clean and, to give them a more modern look and tie in with the new flooring, I sprayed the knobs with PlastiKote Black Gloss. Just a small detail but the kitchen now has a really cohesive look.”

We couldn’t agree more and are amazed at how such a small change can make such a difference. What will you change today?


kitchen-knobs-before-and-after


kitchen-before-and-after-3


kitchen-knobs-before-and-after-2


isobel-kitchen-knobs-close-up

Read More