Ring the changes for the New Year with PlastiKote spray paint.
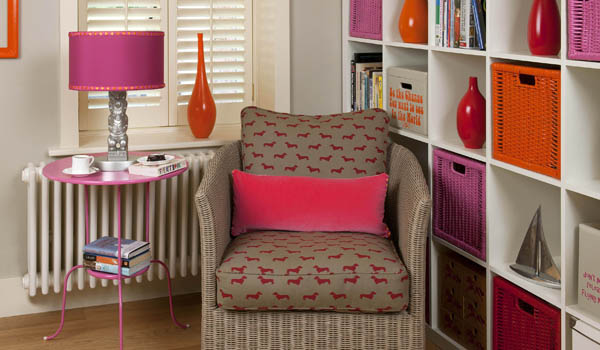
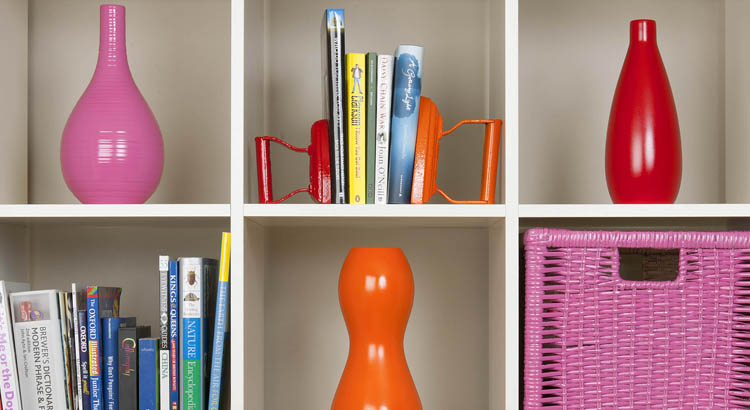
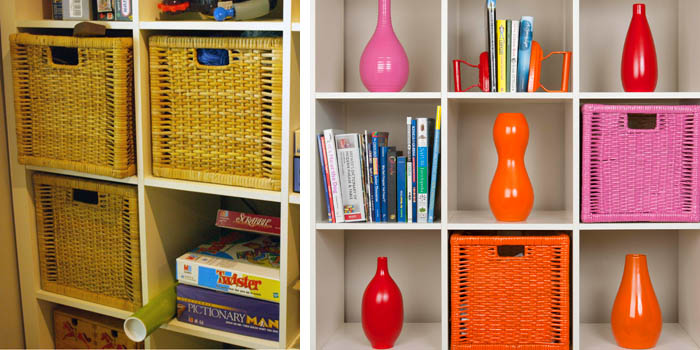
When all the Christmas decs are taken down, everywhere can look a bit tired. Add some vibrant accessories without breaking the bank by spraying what you already have. We livened up a boring shelving unit by spraying wicker baskets and some mismatched vases and re-styling. We love this bright corner of the sitting room!
You will need
Wicker baskets
Vases
Dustsheets/newspaper
PlastiKote Twist & Spray
How to
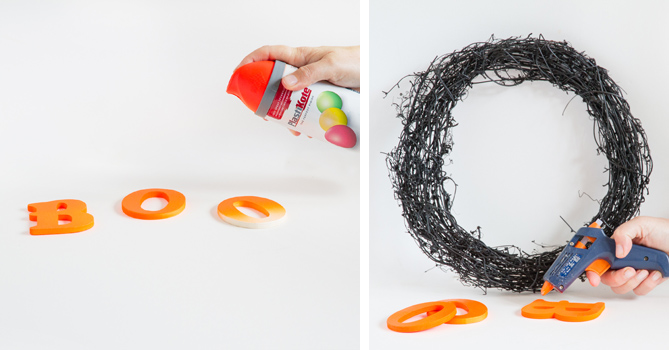
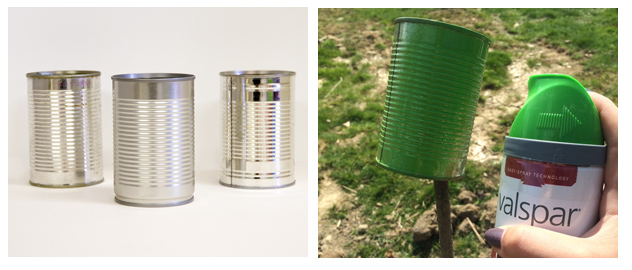
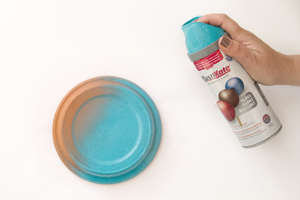
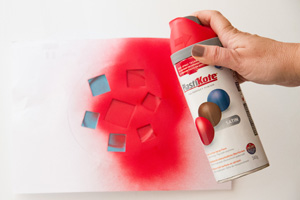
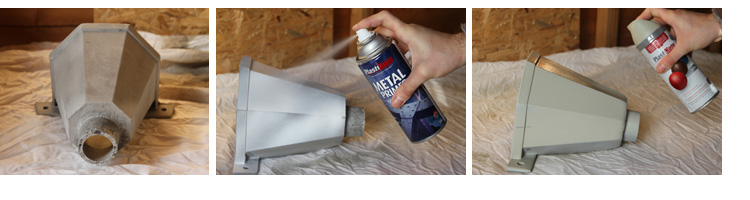
- Spread newspaper/dust sheet out in a well-ventilated working area or outside.
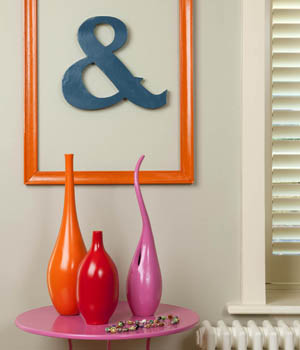
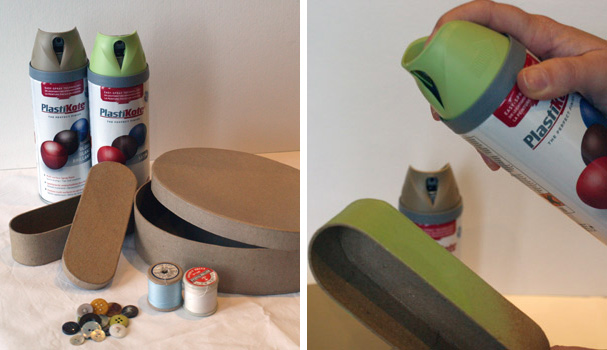
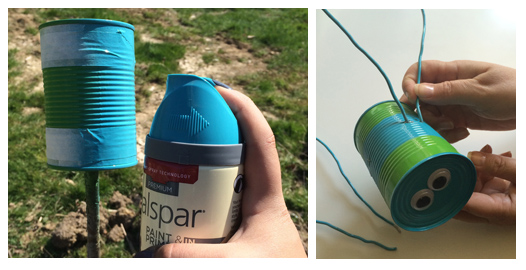
- Shake the can well to mix the paint. Apply two to three coats of PlastiKote Twist & Spray in the colour of your choice. We chose Bright Red Gloss, Pink Burst Gloss and Orange Gloss. Allow 5 – 10 minutes between coats to dry.
- The items will be touch dry in 30-50 minutes and thoroughly dry in 24 hours.
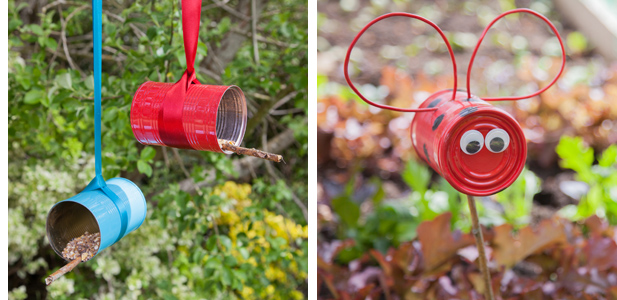
- Have fun being a stylist! Use the wicker baskets to store some of the bits and pieces from the shelves to make room for a few statement vases!